Replacing an Old Corrugated Lean-To Roof With Polycarbonate
By Adam Heppenstall ·
If you’ve got an older lean-to with a corrugated plastic roof, you might have noticed the sheets becoming brittle, discoloured or cracked over time.
Sometimes the first sign of trouble is a small drip. Other times, the roof can deteriorate enough to allow substantial amounts of rainwater inside.
I recently replaced an ageing corrugated roof on a lean-to in Yateley. The homeowner wanted a more substantial replacement and decided to upgrade to multiwall polycarbonate rather than fitting another corrugated roof.
Here’s what was involved and some useful things to consider if you’re thinking of doing something similar.
When Is It Time to Replace a Corrugated Lean-To Roof?
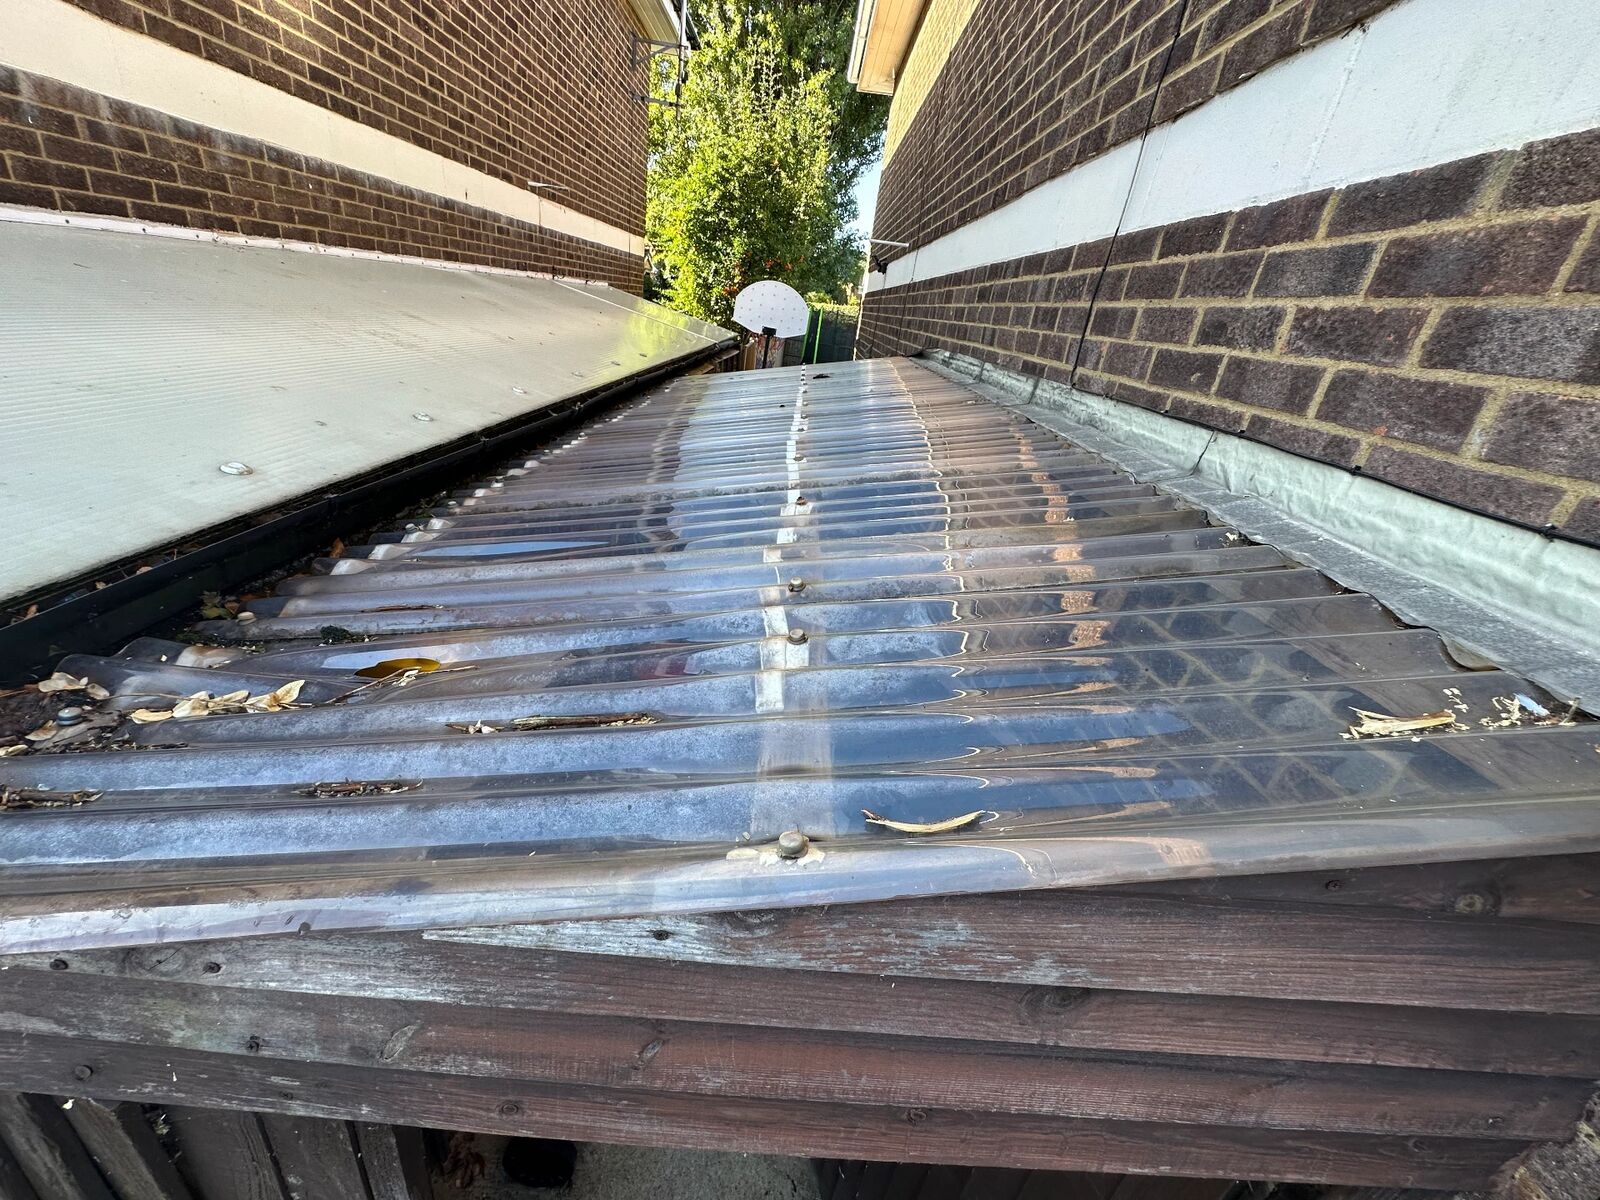
The original roof on this particular lean-to had definitely seen better days.
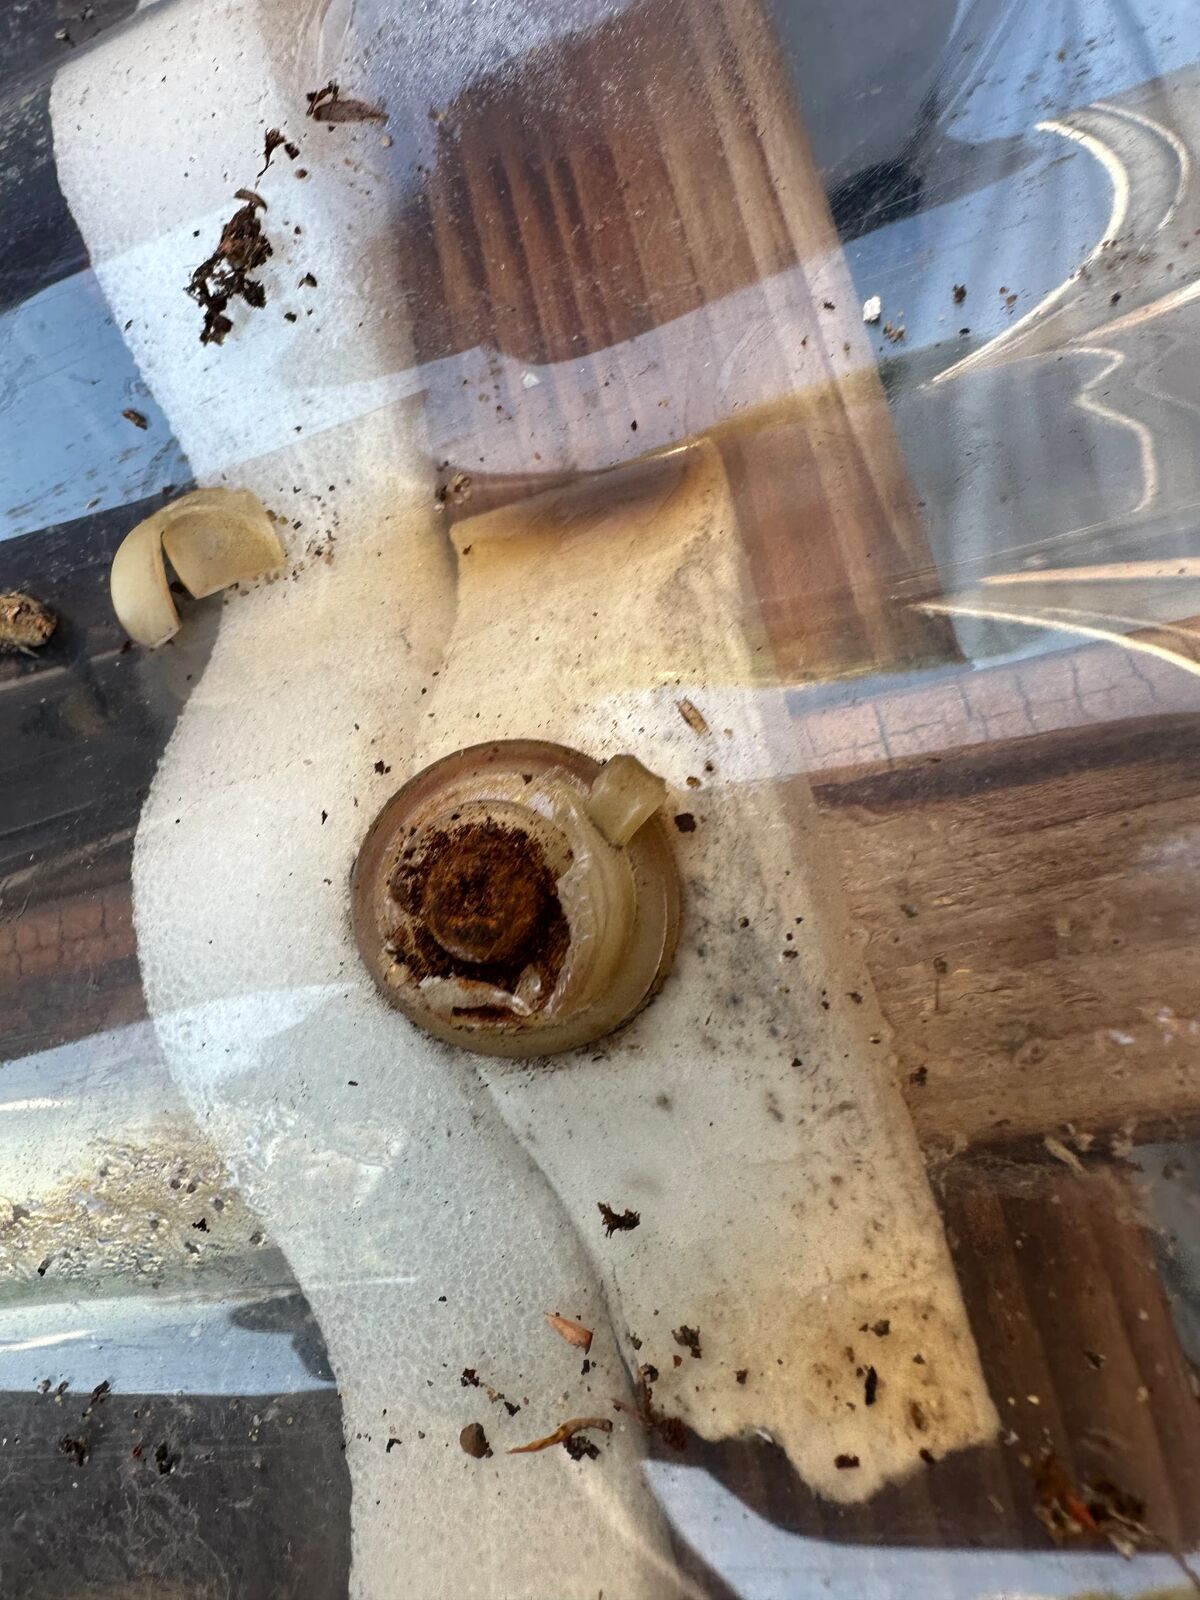
Over time, the plastic roofing sheets had become weathered and brittle. Cracks had developed around some of the screw fixings, and eventually a larger section had broken away, leaving a substantial hole in the roof.
Whenever it rained, water would pour inside.
The homeowner had even resorted to placing a bucket underneath the leak to catch the rainwater.
Unfortunately, water was also reaching belongings stored inside the lean-to, so something needed to be done.
At this point, another temporary patch wasn’t really the answer. The roofing material had deteriorated too much, and replacing it made much more sense.
Why Choose Multiwall Polycarbonate?
Rather than replacing the old corrugated roofing with the same type of material, the homeowner wanted to invest in something more substantial.
We decided on multiwall polycarbonate sheets.
Unlike traditional single-skin corrugated plastic roofing, multiwall polycarbonate is constructed with internal channels that create a lightweight but relatively rigid sheet.
It’s commonly used for conservatories, lean-tos, canopies and covered outdoor areas.
There are several advantages to using multiwall polycarbonate.
It allows natural light through, offers better insulation than basic single-skin plastic roofing and can provide a neat, modern appearance.
There are different thicknesses, colours and grades available depending on the application.
Of course, not all corrugated roofing is poor quality. There are good-quality corrugated products available too, and the best choice depends on the structure, budget and intended use.
For this particular project, multiwall polycarbonate was the preferred option.
Checking the Existing Timber Framework
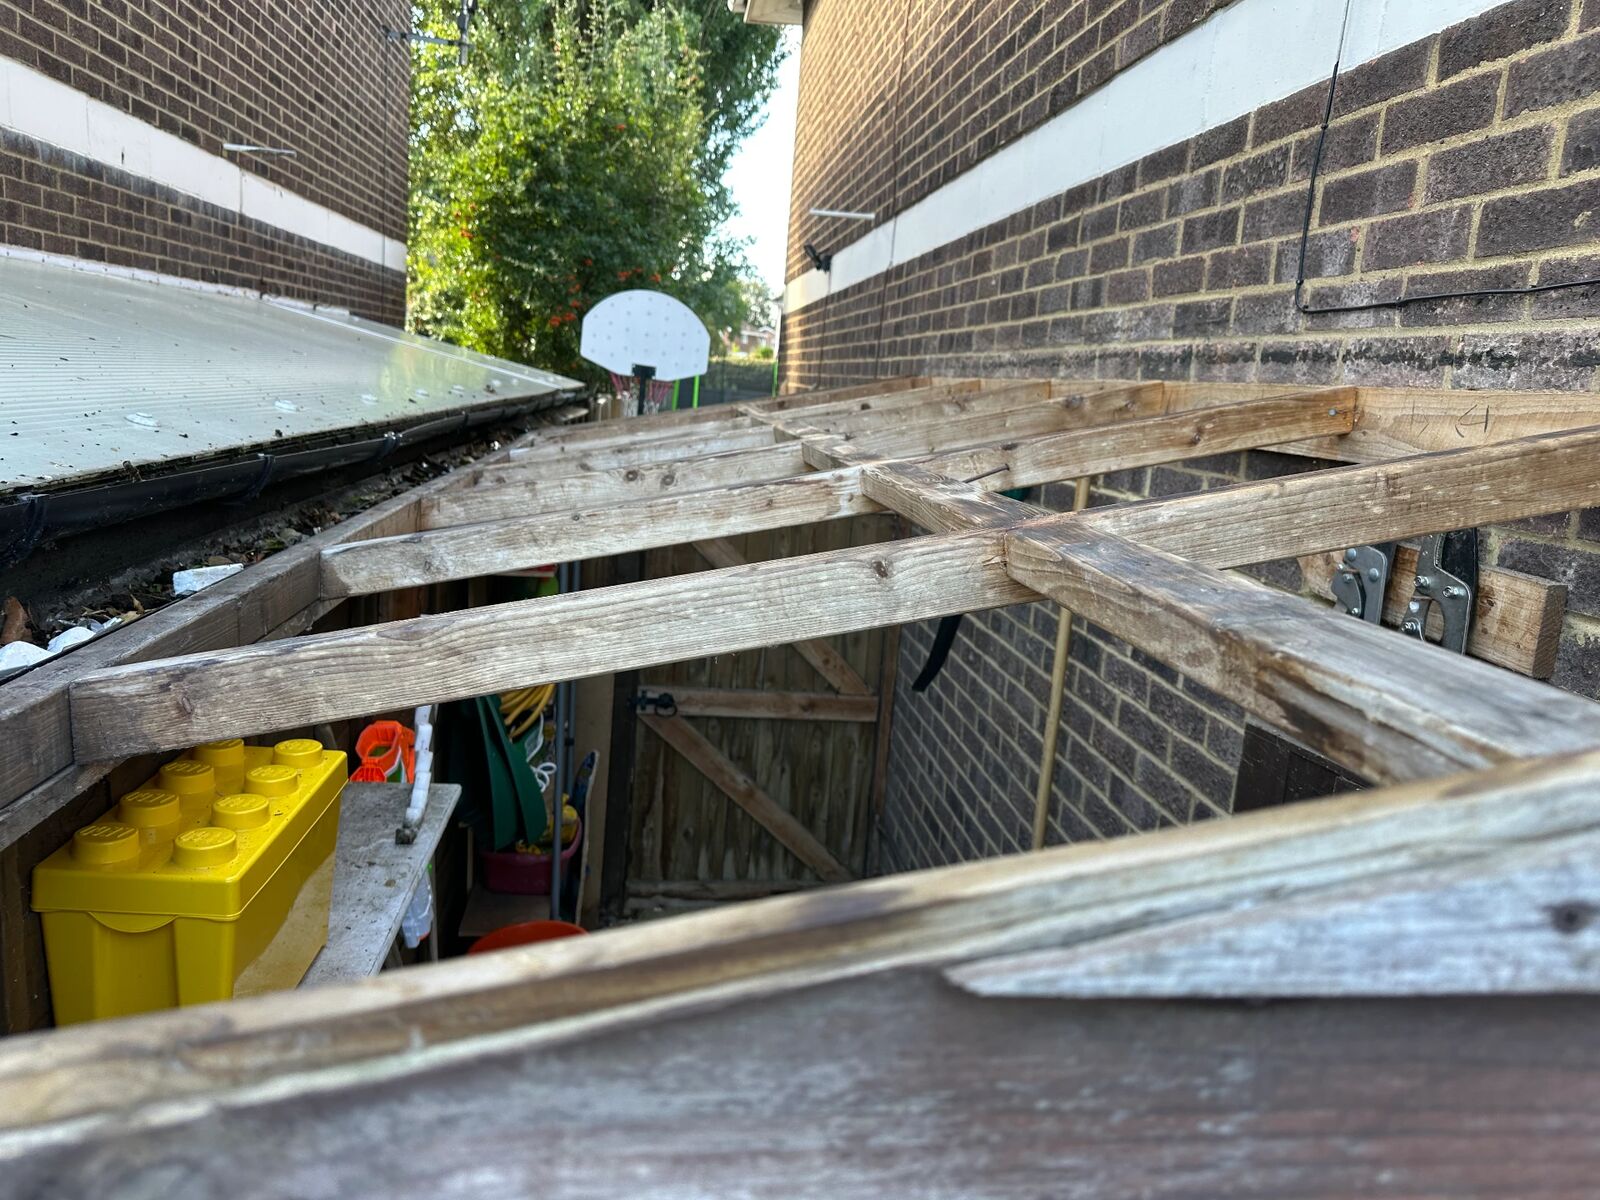
Before installing the new roof, I removed the damaged corrugated sheets and inspected the timber framework underneath.
Despite the roof leaking, the existing timber was thankfully dry and in good condition, with no significant rot.
I checked all the supporting rafters and the fixings securing the structure to the walls.
There were a few areas that needed checking and securing, so I added additional screws where necessary to make sure everything was solid.
The existing rafters could then be reused.
This was good news because it meant there was no need to rebuild the entire supporting structure, saving unnecessary work and expense.
Measuring and Cutting the New Polycarbonate Sheets
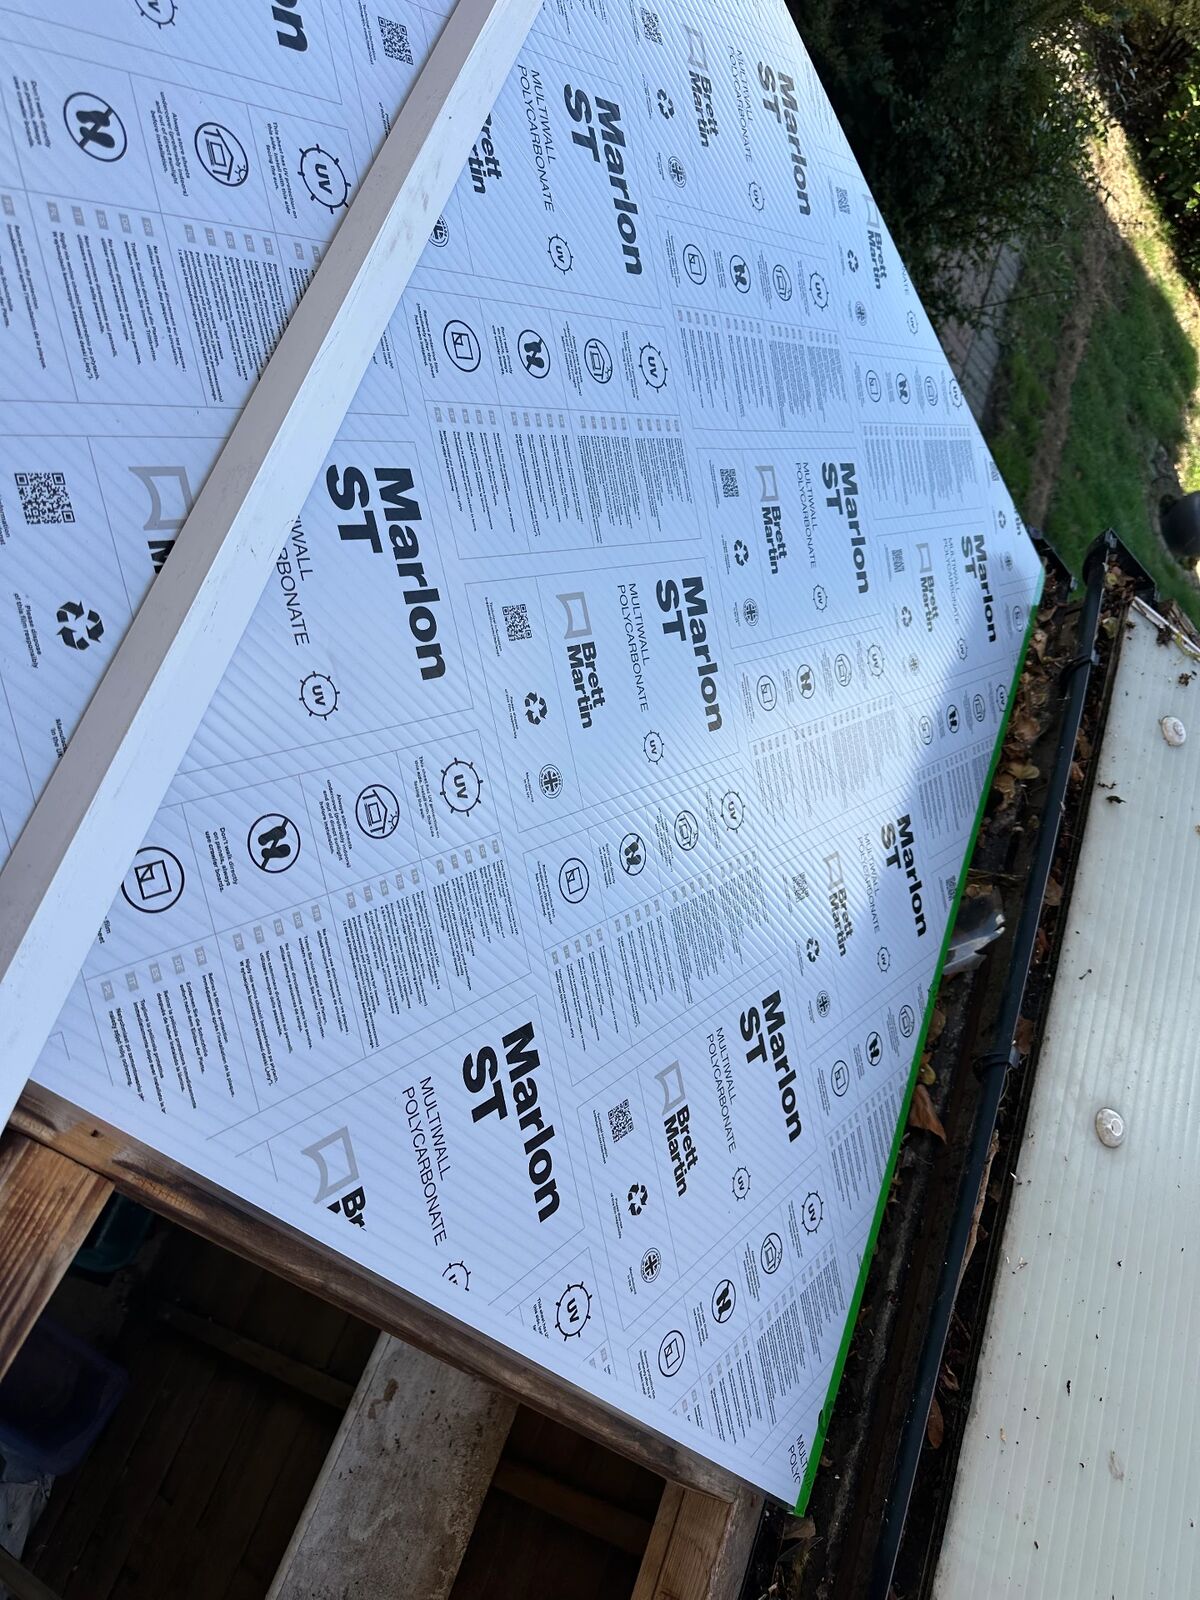
For the replacement roof, I used Marlon ST multiwall polycarbonate sheets, which were ordered from Wickes.
I ordered larger sheets and cut them down to suit the existing roof.
Using larger sheets allowed me to plan the layout more efficiently and reduce the number of joints required between the glazing bars.
The important thing was making sure the sheets were still properly supported by the existing rafters.
Careful measuring was particularly important because the roof sat between the adjoining buildings and needed to fit neatly against the existing structure.
I also had to allow for the natural expansion and contraction of the polycarbonate as temperatures change.
Fitting the Glazing Bars and Roof Fixings
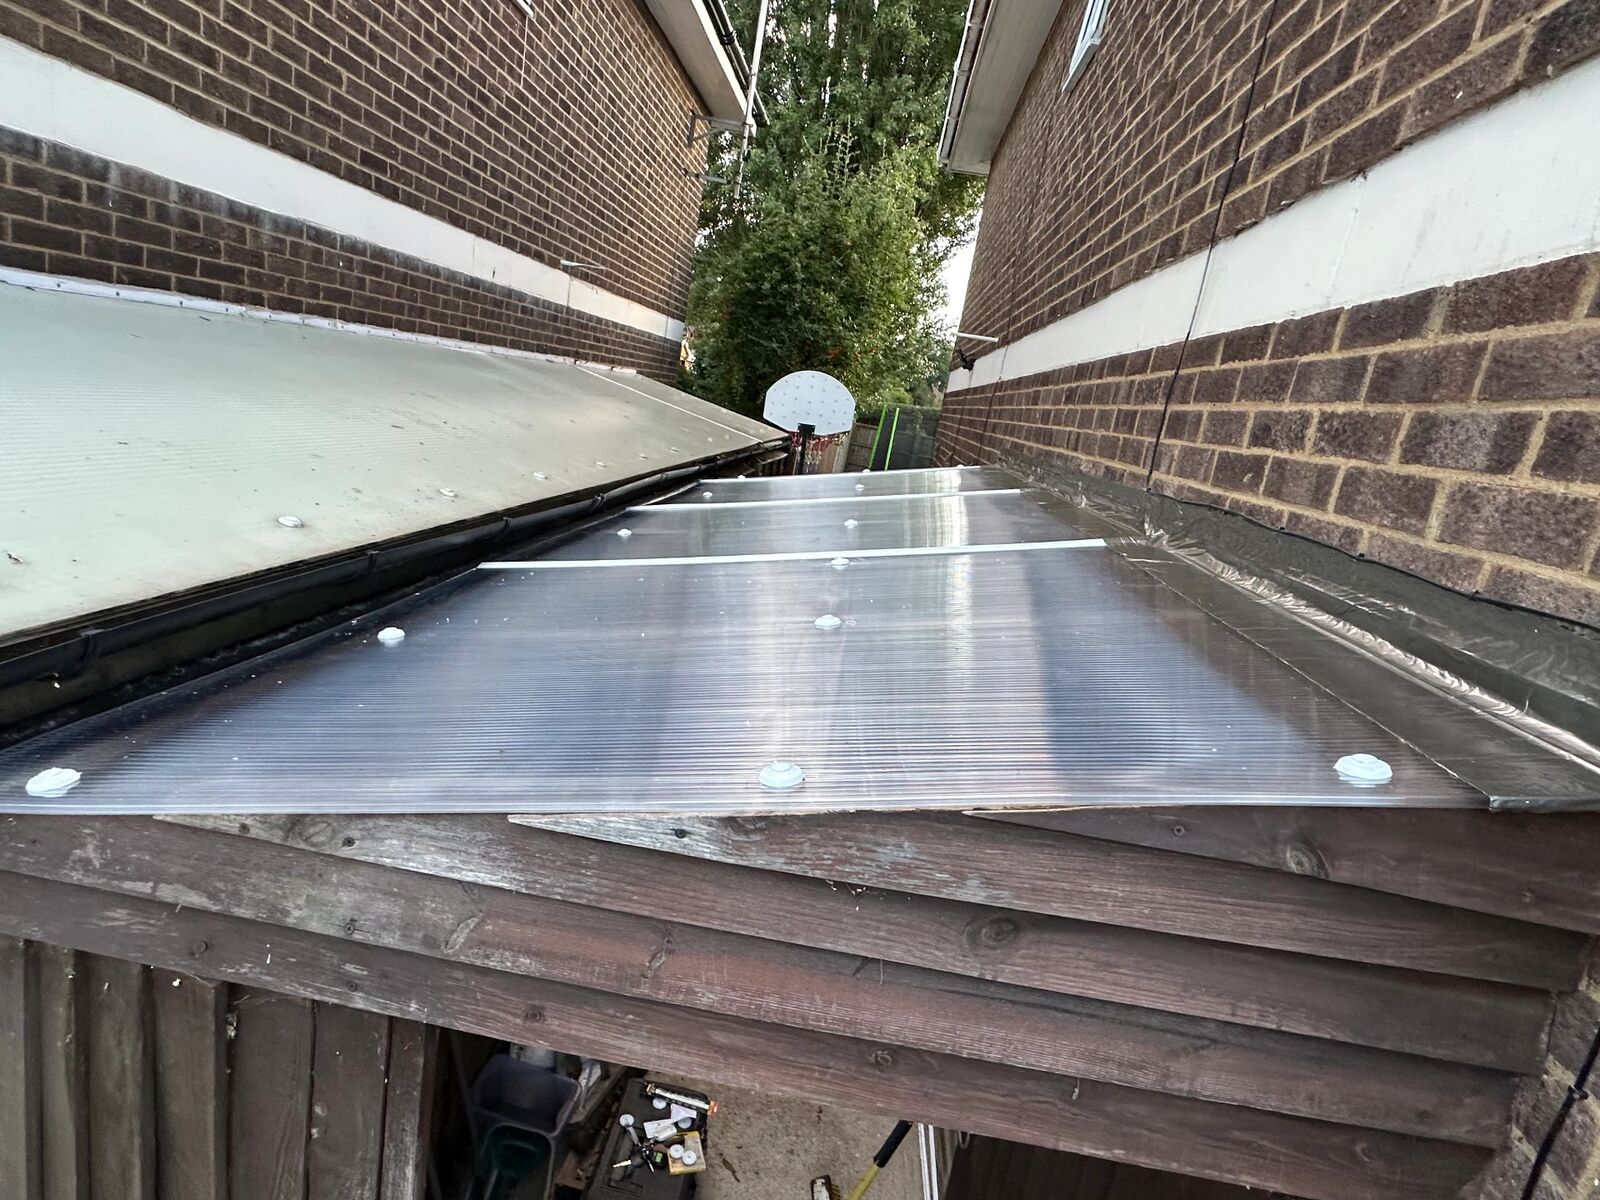
With the polycarbonate sheets cut to size, I began fitting them across the existing timber framework.
I positioned the joints between the sheets over the supporting rafters and used glazing bars to connect and secure the sections.
I also used circular polycarbonate roofing fixing buttons, which help spread the fixing pressure over a wider area.
One particularly important consideration when fitting polycarbonate roofing is thermal expansion.
Polycarbonate expands and contracts as the temperature changes.
If the sheets are screwed down too tightly without sufficient clearance, movement can create stress around the fixing holes.
To accommodate this, I drilled the appropriate clearance holes larger than the screw diameter, following the requirements of the roofing system.
I fitted the sheets, glazing bars and fixing buttons progressively as I worked along the roof.
The result was a secure installation with fewer unnecessary joints.
Weatherproofing Where the Roof Meets the Wall
One of the most important parts of any lean-to roof is the joint where the roofing meets the brick wall.
If this area isn’t properly weatherproofed, rainwater can find its way behind the roofing material and into the structure below.
The original roof had an old plastic trim and exterior sealant along the wall.
I started by scraping away the existing material, then used a stiff wire brush to remove as much remaining sealant and residue as possible.
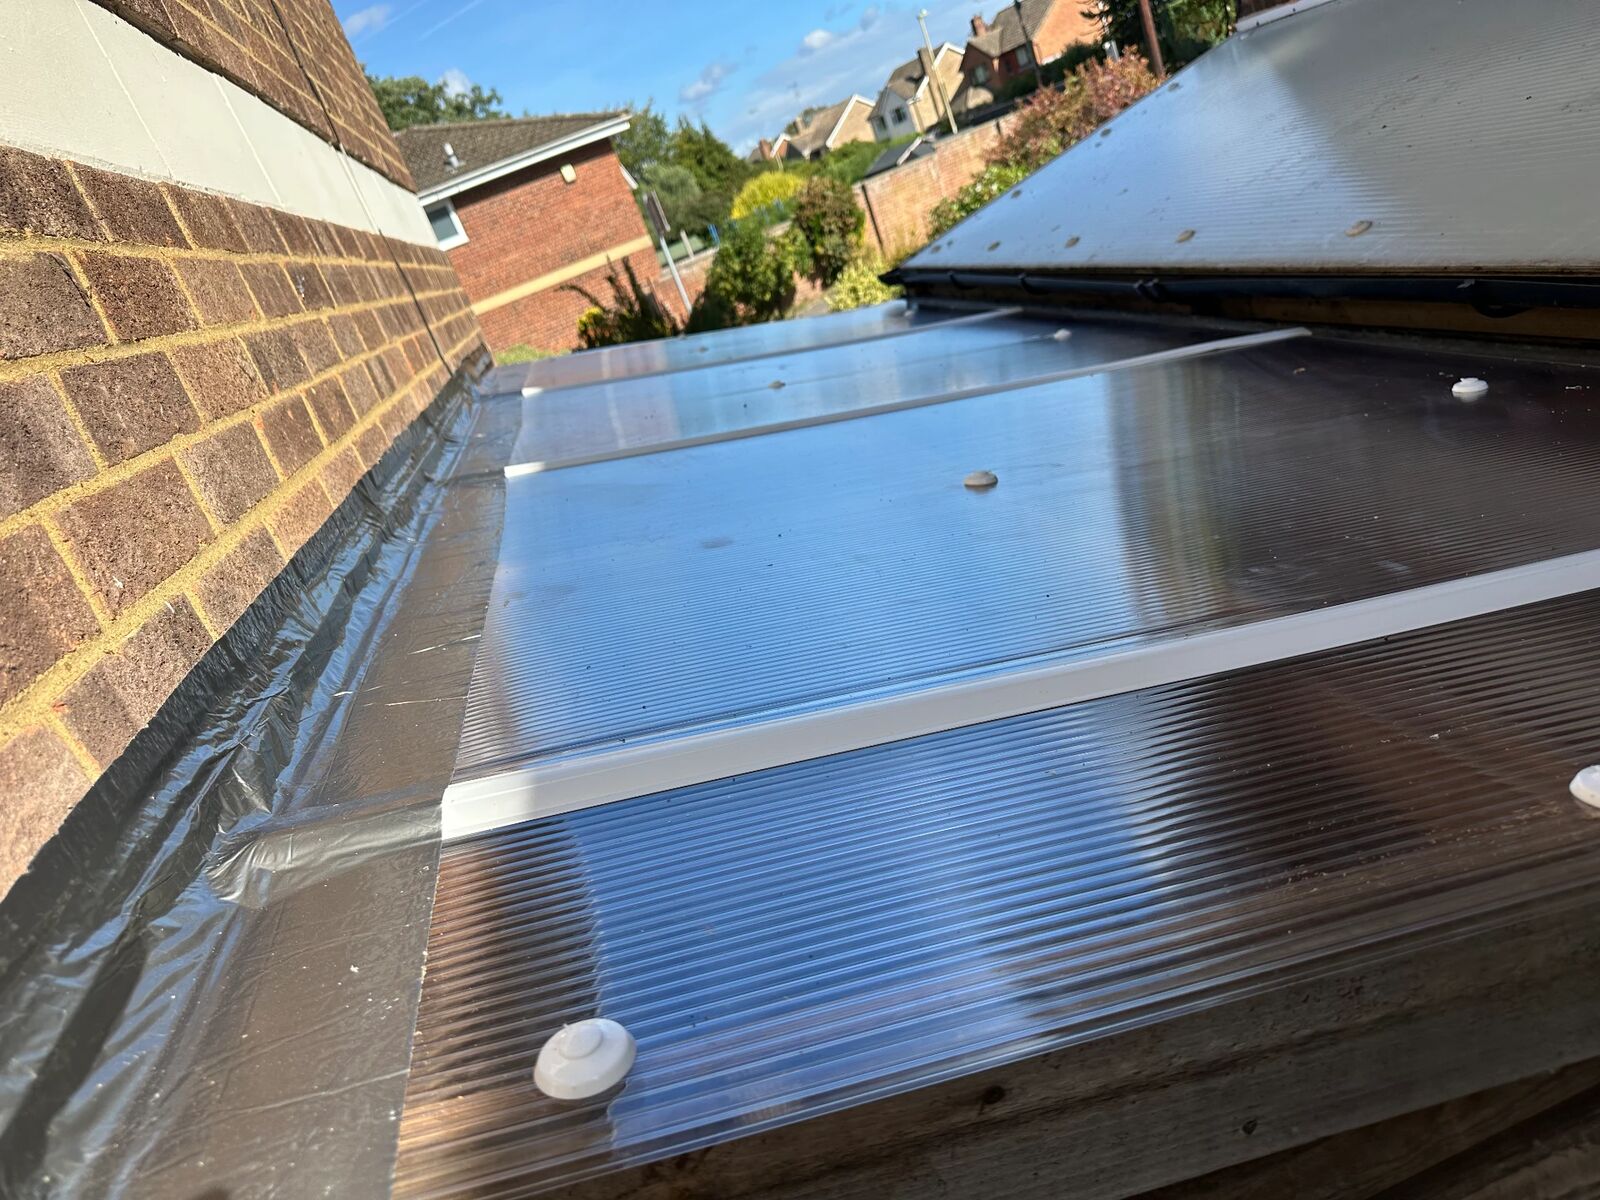
Once the brickwork was clean, I fitted an F-shaped trim directly to the wall.
I drilled and screwed this trim into position, creating a channel that the new polycarbonate sheets could slide into.
Once the sheets were in place, I applied Soudal Butyband butyl flashing tape along the junction between the roof and brickwork.
This was selected as a suitable weatherproofing product for the polycarbonate installation, rather than simply using the same bitumen-based flashing I’d use for some felt-roof repairs.
I didn’t need to apply a separate primer on this particular job.
Instead, I allowed the Butyband to warm naturally in the sunlight before installation, making it more pliable and easier to work with.
I then carefully positioned it along the wall and used a roller to press it firmly into place, making sure it made good contact with the surfaces.
Choosing the correct flashing material and preparing the surfaces properly is particularly important when working with polycarbonate.
Different products have different compatibility and installation requirements, so it’s always worth following the manufacturer’s guidance.
Protecting the Ends of the Polycarbonate Sheets
Multiwall polycarbonate has hollow channels running through the sheets.
These channels need protecting to reduce the chance of dirt, insects and moisture getting inside.
At the upper ends of the sheets, I used aluminium sealing tape to help protect the channels.
At the lower ends, I fitted breathable anti-dust tape.
This allows ventilation and helps condensation escape while reducing the chance of insects and debris entering the channels.
Using the correct tape at each end is important. Simply sealing every opening completely can trap moisture inside.
I returned the following day to complete the finishing touches.
This included fitting the finishing trims, including the end F-trims, and using suitable low-modulus, neutral-cure silicone where required to finish and seal the appropriate joints.
The silicone was used around the relevant trim and finishing details without blocking the intended ventilation of the polycarbonate channels.
These small finishing details help protect the roofing material and maintain its appearance over time.
Cleaning and Reusing the Existing Guttering
I’d originally bought new guttering because I expected that the existing guttering might need replacing.
However, once I had removed the old roof and could inspect everything properly, I discovered that the guttering itself was still perfectly serviceable.
The main problem was that it was full of leaves, dirt and debris.
Rather than replace something unnecessarily, I removed the guttering and gave it a thorough clean with a hose before refitting it.
The neighbouring property’s roof also overlapped the guttering, which made the area particularly awkward to access.
While the old roof was removed, I took the opportunity to clear the neighbouring gutter as well.
This would normally have been quite difficult to reach, so it made sense to deal with it while access was available.
It’s a useful reminder that overflowing guttering doesn’t always mean it needs replacing.
Sometimes a thorough clean is all that’s required.
The Finished Result
The main roof replacement was completed in one day, with a return visit the following day to finish the trims and sealing.
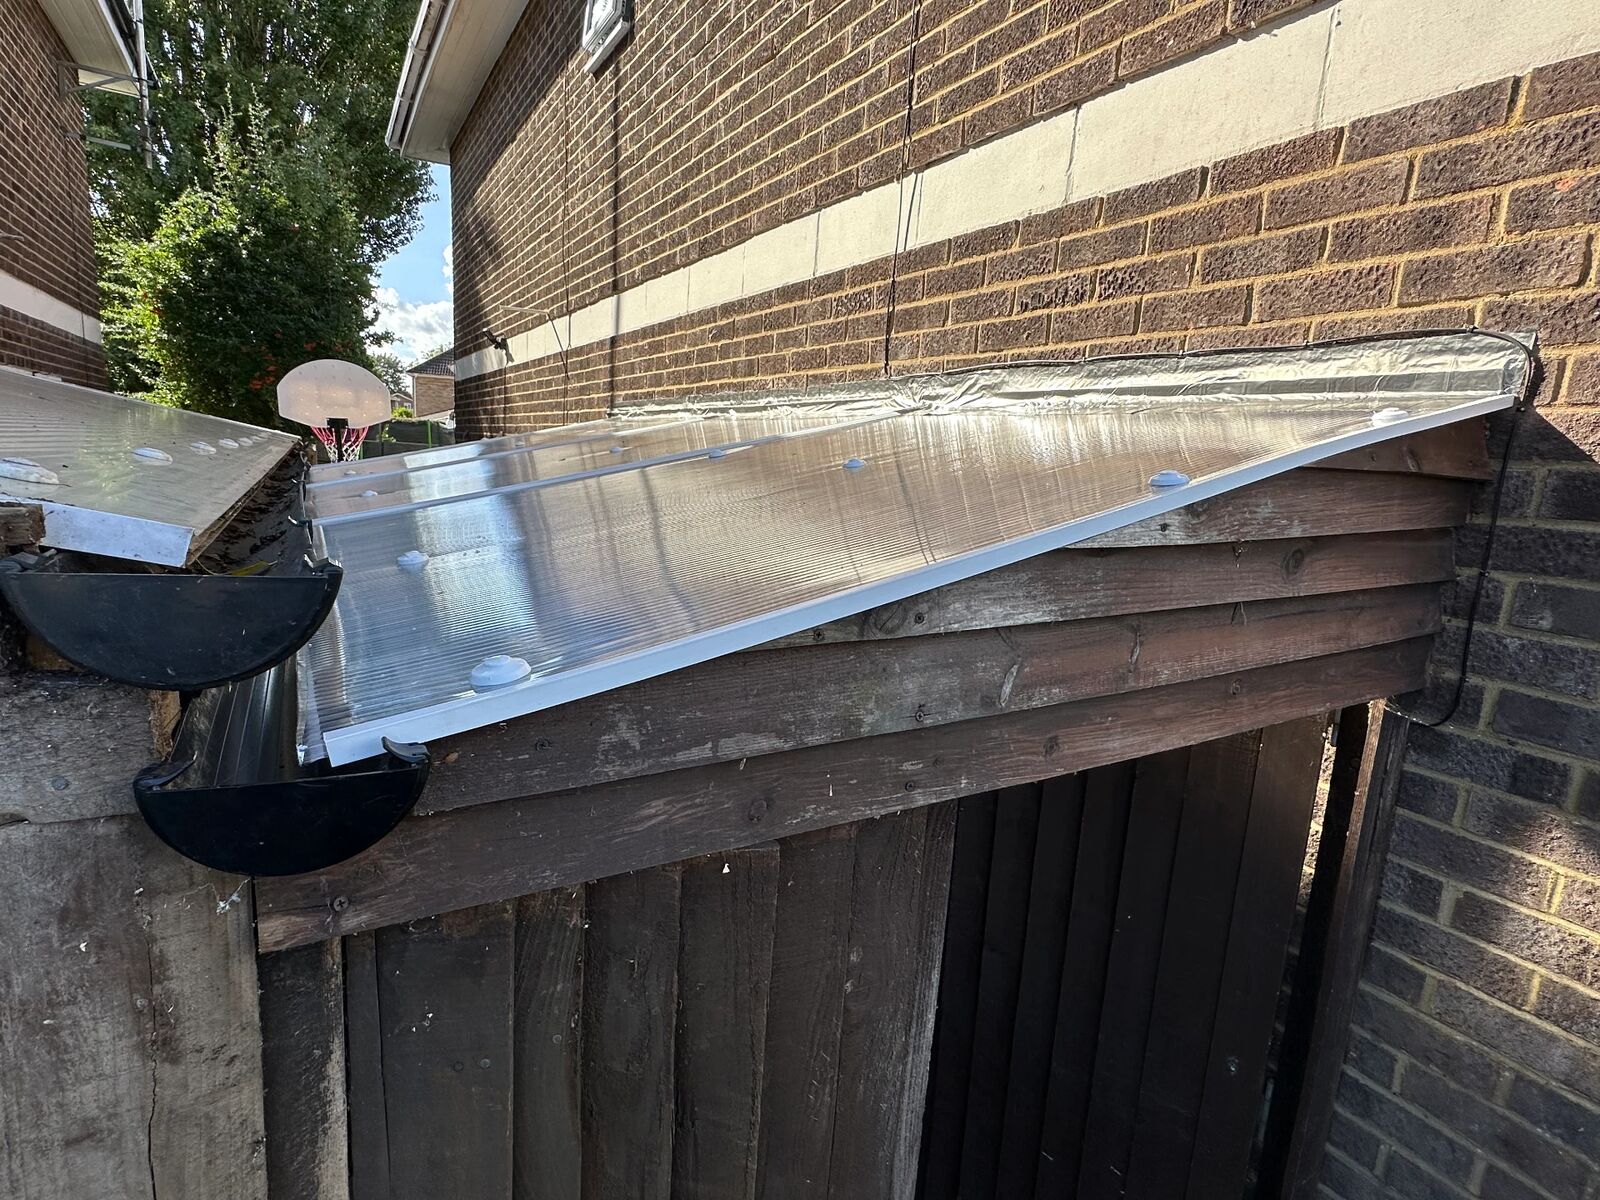
The new multiwall polycarbonate gave the lean-to a much neater, more substantial appearance while still allowing plenty of natural light through.
The original timber framework had been retained, the existing guttering was cleaned and reused, and the old, damaged corrugated roof had been completely replaced.
Since completing the job, we’ve had some particularly heavy rainfall, and I’ve not received any reports of further leaks.
Most importantly, the homeowner no longer had to rely on temporary patches and buckets to deal with the badly deteriorated original roof.
My Advice: Repair or Replace?
If you’ve noticed a leak in an older corrugated plastic roof, it’s worth checking the condition of the sheets and their fixings.
A small problem with an otherwise sound roof might be repairable.
However, if the plastic has become brittle, developed numerous cracks or started breaking around the fixings, replacing the roofing sheets may be more sensible than repeatedly patching them.
It’s also worth checking the supporting timber before assuming the entire structure needs rebuilding.
As this particular job demonstrated, the original timber framework can sometimes be perfectly serviceable even when the roofing sheets themselves have failed.
Choosing suitable materials, checking the existing structure and paying attention to the joints, wall flashing, end trims and drainage can all make a difference to the finished result.
Need Help With a Lean-To Roof Repair or Replacement?
If you’ve got an ageing or leaking lean-to roof and are unsure whether it can be repaired or needs replacing, feel free to get in touch.
I carry out lean-to roof repairs, shed repairs, roof refelting and general property maintenance across Yateley, Sandhurst, Fleet, Camberley, Crowthorne, Farnborough and the surrounding areas.
I’m always happy to take a look and discuss the options. Get in touch
More Advice & Projects
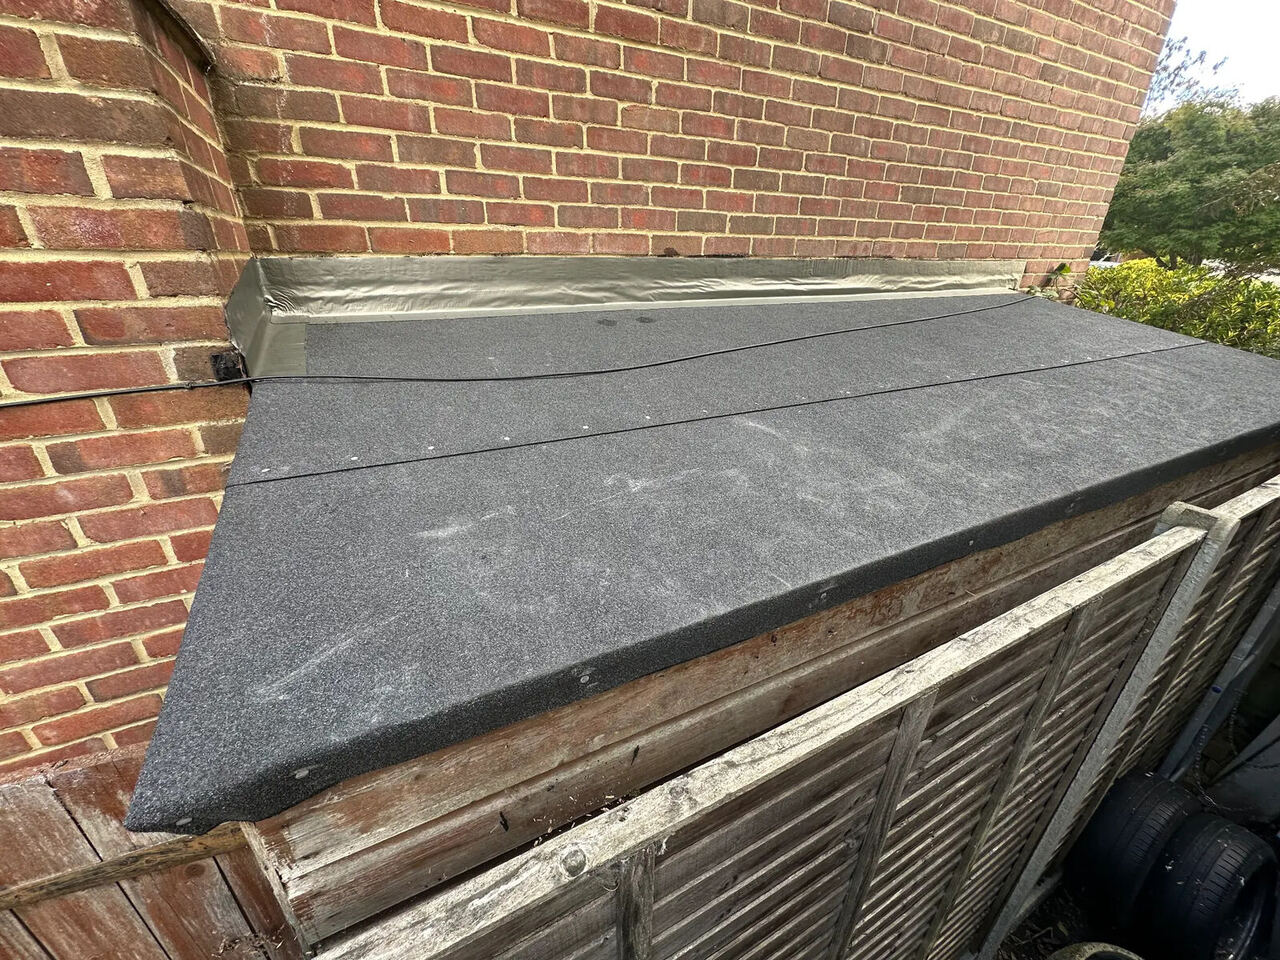
Leaking Shed Roof? Should You Repair, Refelt or Replace It?
A leaking shed or lean-to roof doesn’t always mean a new roof. Here’s a real lean-to roof and floor repair in Yateley, and when to repair, refelt or replace.
Read the article
Can You Mount a TV on a Plasterboard Wall?
Short answer: yes, in most cases — but only with the right fixings and a bit of care. Here's how I approach plasterboard TV mounting on jobs around Yateley, Fleet and Camberley.
Read the article